Beginner vs Advanced Deep Clean for Fridge Condenser Coils
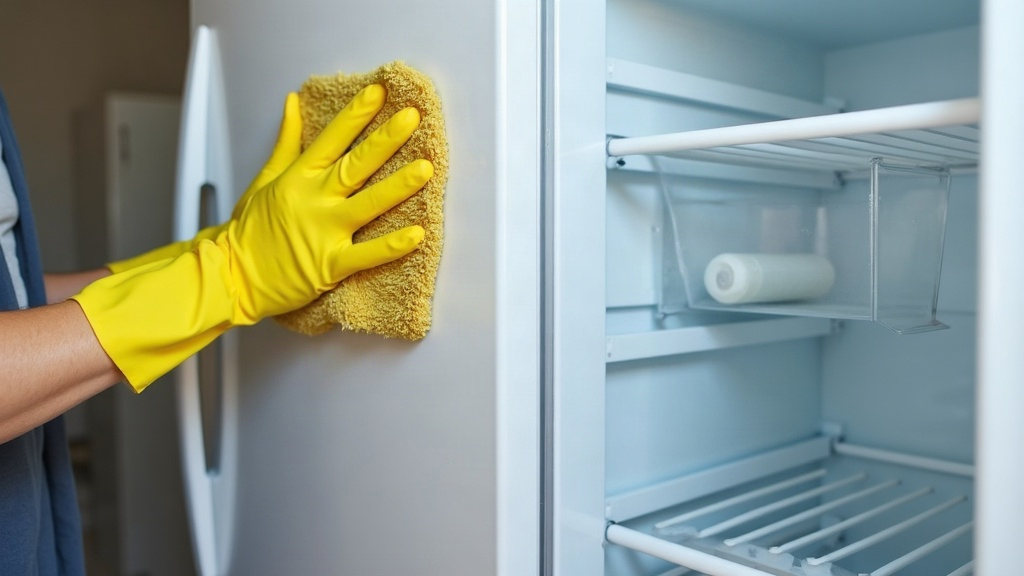
Cleaning the condenser coils behind your fridge is one of those jobs nobody thinks about until the appliance starts acting up. It’s also one of the most overlooked maintenance tasks in the whole house. Whether you just want to knock the dust off in a few minutes or you’re ready to do a full strip-down clean, this guide covers both, so your fridge runs cooler, quieter, and cheaper to operate.
Why Condenser Coil Cleaning Matters
The condenser coils pull heat from inside the fridge and release it into the room. Simple enough, until dust, pet hair, and kitchen grease pile up on them. That layer acts like a wool blanket wrapped around the coils, trapping heat that should be escaping. The compressor then has to work overtime to compensate, and that extra strain shows up in a few predictable ways:
- Your energy bill can climb 15-30%
- The compressor wears out faster
- The fridge runs louder and runs hotter than it should
- You risk early appliance failure, sometimes years before its time
Most manufacturers suggest cleaning the coils every 6 months. Got a shedding dog or two cats fighting for window space? Cut that down to every 3 months.
Beginner-Level Deep Clean
Never touched the back of your fridge before? Start here. You’ll need almost nothing, and it takes about 15 to 20 minutes, less time than a load of laundry.
What You’ll Need
- A vacuum with a hose attachment
- A long-handled, flexible coil brush (a clean paintbrush works fine too)
- Microfiber cloth
- Flashlight (optional, but genuinely useful)
Step-by-Step Beginner Process
- Unplug the refrigerator. No exceptions here. Never clean electrical components while they’re live.
- Pull the fridge away from the wall, gently, just enough to get behind it comfortably.
- Locate the coils. On most modern units they sit on the back exterior panel, though some hide them behind a grille at the bottom front.
- Vacuum the surface dust with the hose attachment, moving in straight passes rather than circles.
- Brush gently between the coil fins to break up compacted debris, then vacuum again to pick up what you loosened.
- Wipe the surrounding area with a dry microfiber cloth, since dust tends to drift and settle nearby.
- Push the fridge back into place and plug it in.
That’s it. For most households who clean on a regular schedule, this basic pass is genuinely enough.
Advanced-Level Deep Clean
Has it been over a year since you last touched those coils? Noticing extra heat radiating off the back, odd humming, or a power bill that’s crept up for no obvious reason? That’s your cue for a full deep clean.
Additional Tools Needed
- Screwdriver (for removing the grille or rear panel)
- Compressed air canister
- Soft-bristle appliance brush
- Mild degreaser spray (skip anything ammonia-based)
- Shop vacuum with a narrow nozzle attachment
Advanced Cleaning Steps
- Unplug the unit and remove the access panel. Depending on the model, that means unscrewing the bottom kick plate or the rear cover entirely to expose the coils.
- Blast compressed air into the tightly spaced fins. This gets at the embedded dust a vacuum simply can’t reach on its own.
- Apply a light degreaser if you spot greasy residue, which is common in kitchens near the stove. Let it sit for a minute, then wipe clean.
- Vacuum the condenser fan if you can reach it. Dust buildup there strains the motor and can trigger overheating.
- Check the drain pan underneath. It quietly collects grime right alongside the coils and deserves its own separate wash.
- Look for bent fins and straighten them carefully with a fin comb, since airflow depends on the fins staying even and unobstructed.
- Put the panel back on, plug the fridge in, and let it run a few minutes to make sure everything sounds and feels normal.
This is the right level of effort for kitchens with heavy cooking grease, multiple shedding pets, or a fridge that’s pushing past the 5-year mark.
Beginner vs Advanced: Quick Comparison
| Factor | Beginner | Advanced |
|---|---|---|
| Time required | 15-20 minutes | 45-60 minutes |
| Tools needed | Vacuum, brush | Vacuum, air canister, degreaser, screwdriver |
| Frequency | Every 3-6 months | Annually or for heavy buildup |
| Access level | Surface coils only | Full panel removal |
| Best for | Regular maintenance | Neglected or older units |
Common Mistakes to Avoid
- Spraying water directly on the coils. That’s an invitation for rust and electrical damage.
- Forcing bent fins back into shape. Gentle pressure only, they bend easier than you’d think.
- Skipping the unplug step. Always kill the power before you touch anything back there.
- Ignoring the drain pan. Leave it alone long enough and mold moves in.
Final Thoughts
Stick with the beginner method for routine upkeep, or go all in with the advanced clean once a year, either way, keeping those condenser coils clear pays off fast: a lower energy bill, a quieter kitchen, and a fridge that keeps running long after its warranty expires. Do the quick version today, then pencil in a proper deep clean for the next change of season.