Advanced Grout Restoration: Whitening and Sealing Backsplash Grout
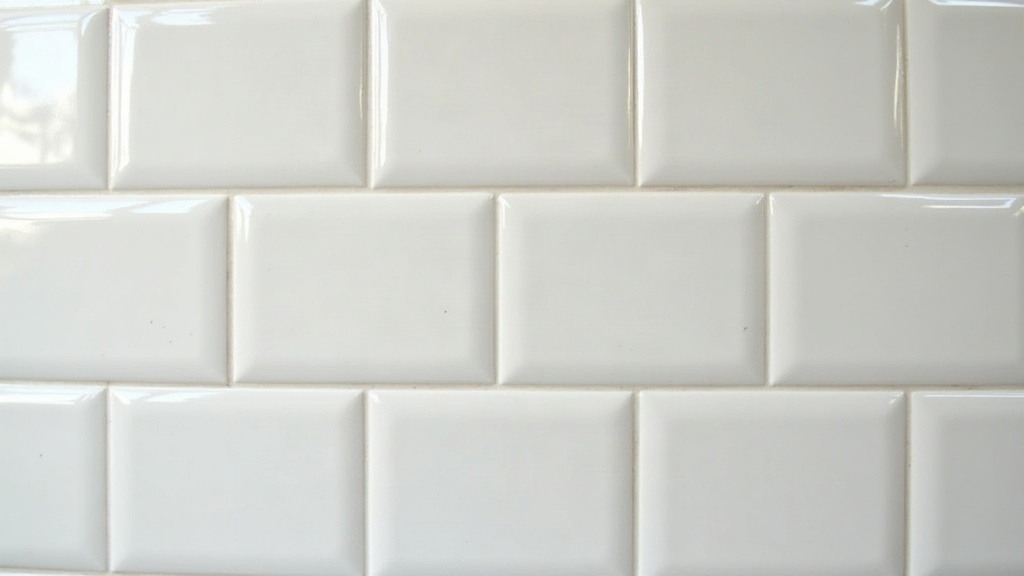
Advanced grout restoration brings dull, stained kitchen backsplash grout back to a bright, even finish by combining a real deep clean, targeted whitening, and a sealant that actually holds up. Do it right and you’ll knock the whole job out in a weekend. This isn’t a quick wipe-down situation. True restoration means dealing with years of grease splatter, mineral buildup, and discoloration that’s worked its way deep into porous grout.
Why Backsplash Grout Discolors Faster Than Floor Grout
Your backsplash sits right behind the stove and sink, which basically turns it into a magnet for grime. A few culprits do most of the damage:
- Airborne grease that condenses mid-cook and bakes onto the porous surface, meal after meal
- Hard water splashes from the faucet, leaving behind chalky calcium deposits
- Food splatter loaded with oils, sauces, and pigments (think tomato sauce, turmeric, coffee)
- Steam exposure that gradually softens sealant and reopens grout pores
Grout is cementitious and porous by nature, so it soaks these substances in rather than letting them sit politely on top waiting to be wiped away. That’s exactly why a spray cleaner and a rag won’t touch grout that’s been neglected for a few years. You need something stronger.
Step 1: Deep Clean Before Whitening
Whitening products only perform on grout that’s genuinely clean, not just surface-wiped. Skip this step and you’ll just be sealing in the grime. Start here:
- Dry brush first – clear loose debris with a stiff nylon brush so you’re not grinding grit into the grout as you scrub.
- Degrease with an alkaline cleaner – a baking soda and dish soap paste, or a commercial degreaser, cuts through baked-on grease that acidic cleaners simply can’t budge.
- Rinse thoroughly – any leftover residue will block the whitener from bonding properly.
- Let grout dry completely – damp grout absorbs whitening treatments unevenly, and you’ll end up with blotchy patches that look worse than before.
Step 2: Choose the Right Whitening Method
Grout Whitening Pens (Best for Small Jobs)
These epoxy-based pens lay down a white, stain-resistant coat right over the grout line. Great for backsplashes under 20 square feet, say a small galley kitchen. Apply in thin, even strokes and wipe off any excess from the tile right away with a damp cloth, before it has a chance to cure.
Oxygen Bleach Soak (Best for Lightly Stained Grout)
Mix oxygen bleach powder with warm water into a paste, spread it on, and let it sit for 10 to 15 minutes. It lifts stains without eating away at the grout structure. Chlorine bleach, by contrast, weakens grout if you lean on it too often.
Grout Whitening Sealer (Best Long-Term Option)
This is a two-in-one product: it brightens the grout color and seals it in the same pass. For a real restoration job, this is usually the smarter pick, since it skips a separate sealing step entirely and typically holds up 2 to 3 years on a backsplash (floors see more foot traffic and wear faster).
Pro tip: Test any whitening product on a hidden grout line first. Some tile glazes don’t play nice with acidic or bleach-based formulas, and you don’t want to find that out on a visible wall.
Step 3: Repair Before You Seal
Seal over cracked or crumbling grout and you’re just trapping moisture underneath, which speeds up failure instead of preventing it. Walk the backsplash and look for:
- Hairline cracks: fill with a matching grout repair compound
- Missing chunks near the sink or stove: regrout small sections using a grout float, or just your finger for tight corners
- Loose tiles: re-adhere these first, since any vibration will crack fresh grout before it even sets
Give repaired areas 48 to 72 hours to cure before you move on to sealing.
Step 4: Apply a Penetrating Sealer Correctly
For backsplashes, a penetrating (impregnating) sealer beats a topical one, hands down. It soaks into the grout’s pores instead of sitting on the surface, so it won’t peel near heat sources like the stove the way a topical product eventually will.
Application steps:
- Run the sealer along each grout line with a small foam brush or an applicator bottle
- Wait 5 to 10 minutes, then wipe any excess off the tile surfaces before it starts to haze
- Give high-splash zones a second coat (behind the stove, around the faucet)
- Hold off on any water contact for a full 24 hours while it cures
How Long Does Restored Grout Last?
Do the whitening and sealing properly, and here’s roughly what to expect:
- 6 to 12 months before you need a light touch-up clean
- 2 to 3 years before resealing, depending on how much you cook
- Immediate protection against new grease and water stains right through the cure window
Maintenance Tips to Extend Results
- Wipe grout lines weekly with a pH-neutral cleaner rather than reaching for harsh degreasers
- Run the range hood consistently; it cuts down on airborne grease settling onto the grout in the first place
- Reseal as soon as you notice water stops beading on the surface, that’s your early warning sign
Conclusion
Advanced grout restoration isn’t just about looks. It’s a protective step that heads off deeper staining, cracking, and mold before they take hold in your kitchen backsplash. Deep clean first, pick the whitening method that fits the job, repair any damage, then finish with a penetrating sealer, and you can bring years-old grout back to a bright, durable finish that shrugs off daily cooking messes for years to come.