How to Remove Pollen Stains from Vinyl Siding Fast
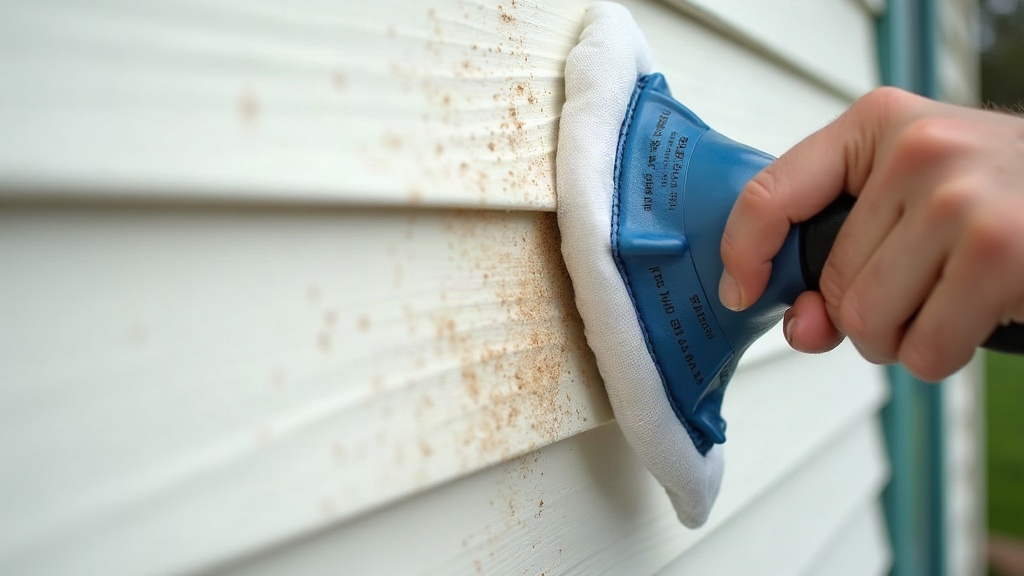
How to Remove Pollen Stains from Vinyl Siding
Anyone who’s dealt with a bad pollen season knows the look: a sticky, yellow-green film coating the siding that plain rainwater just shrugs off. The good news is you don’t need anything fancy to fix it. A soft brush, some household cleaners, and a bit of patience will get your siding back to normal, without scratching the surface or messing with your warranty. Here’s how.
Why Pollen Stains Are So Stubborn
Pollen isn’t just dust floating around. It’s a fine, oily organic material, and when it mixes with dirt, tree sap, and ambient humidity, it forms a thin film that clings to exterior surfaces. Rain falls, the film dries, rain falls again, and after a few cycles that residue hardens into visible streaks or a dull haze. This shows up worst in shaded spots, under eaves, and on north-facing walls, basically anywhere moisture sticks around longer than it should. Pine and oak are the usual culprits in early spring (they’re heavy pollen producers), and they’re especially good at leaving a yellowish tint on light-colored siding.
What You’ll Need
- A garden hose with a spray nozzle
- A soft-bristle brush or a long-handled siding brush
- A bucket
- Mild dish soap or a cleaner made specifically for vinyl siding
- White vinegar (optional, for the tougher spots)
- Microfiber cloths or a squeegee
- Rubber gloves and safety glasses
Skip the steel wool and abrasive scrubbers. Harsh solvents are a bad idea too. They can scratch the vinyl or wear down its protective finish, and once that happens, stains actually come back faster and stick harder.
Step-by-Step: Removing Pollen Stains
1. Rinse First
Before any cleaner touches the siding, hose it down top to bottom. This loosens the surface pollen and dust so you’re not accidentally grinding grit into the vinyl once you start scrubbing.
2. Mix a Gentle Cleaning Solution
Stir 1/4 cup of dish soap into a gallon of warm water. If soap alone isn’t cutting it, add a cup of white vinegar. Its mild acidity breaks down the organic compounds in pollen without doing any damage to the vinyl itself.
3. Scrub in Sections
Work in manageable 3 to 4 foot sections, bottom to top, so you avoid streaking down the clean parts. A soft brush, small circular motions, extra attention on stained patches, window sills, and anywhere under a roof overhang.
4. Rinse Thoroughly
Rinse each section right after scrubbing it. If soap dries on the surface, it leaves its own residue, which just creates a new problem. A regular hose with decent pressure is enough here. Routine pollen removal doesn’t call for a pressure washer.
5. Tackle Deep-Set Stains
Still seeing yellow after a full wash? Mix water and oxygen-based bleach (OxiClean works fine) 50/50, apply it to the stain, let it sit for 10 minutes, then scrub and rinse. Stay away from chlorine bleach though. Over time it can discolor the vinyl, which defeats the whole purpose.
Preventing Future Pollen Buildup
- Rinse monthly during peak pollen season. That’s usually March through May depending on where you live, and a quick rinse keeps buildup from hardening into stains in the first place.
- Trim back overhanging trees. Less pollen falling directly onto the siding means less work later.
- Apply a UV-protective vinyl siding wax after cleaning. It leaves a slicker surface, and pollen just sheds off instead of sticking.
- Check your gutters and downspouts. Clogged gutters overflow, and that pollen-laden runoff is a common source of streaking on the siding below.
When to Call a Professional
If you’ve scrubbed two or three times and the stains won’t budge, or if you’re dealing with a big house, two-story sections, or awkward spots you can’t safely reach, it might be time to bring in a soft-wash service. Soft washing relies on low-pressure, biodegradable cleaners, gentler than a DIY pressure washer, and usually more effective against the kind of deep organic staining that pollen, algae, and mildew leave behind.
Final Thoughts
Getting pollen stains off vinyl siding really comes down to timing and technique. Rinse early, use a mild soap-and-vinegar mix, scrub without force, and rinse until it’s completely clean. Keep up with monthly rinses through bloom season and you’ll avoid the harder cleanup jobs down the road. A little regular maintenance now, and your siding stays bright long after the pollen has settled for the year.